
ReShade is a popular post-processing tool that allows gamers to enhance the visuals of their games. With its powerful features, including custom shaders, lighting effects, and various visual adjustments, ReShade can breathe new life into the graphical experience of many video games. However, one of the most frequently asked questions by users is how to install ReShade for a specific game. In this article, we will explore the step-by-step process of installing ReShade, ensuring that you can optimize your gaming experience with ease.
What Is ReShade?
Before diving into the installation process, it’s essential to understand what ReShade is and what it can do for your gaming experience. ReShade is a post-processing injector that allows users to apply shaders to enhance the visual quality of video games. Whether you are looking to improve the lighting, color grading, or overall atmosphere, ReShade provides a wide range of tools and customizable settings to fine-tune your graphics.
ReShade supports a variety of games, ranging from older titles to modern releases, making it a versatile tool for any gamer looking to improve their graphics. With its extensive collection of shaders and presets, ReShade offers a unique opportunity for gamers to personalize the look of their games and create stunning visuals that may not be present in the default settings.
Preparing for ReShade Installation
Before installing ReShade for a specific game, there are a few essential steps you need to take to ensure that the installation process goes smoothly. These steps include downloading the necessary files and ensuring that your game is properly set up for the installation.
System Requirements
While ReShade is a relatively lightweight tool, it is important to ensure that your system meets the basic requirements for its proper functioning. ReShade supports both DirectX and OpenGL games, so it will work on most modern systems. However, to achieve optimal performance and avoid potential conflicts, it’s recommended to have a system that meets the following general requirements:
- Operating System: Windows 7 or later (macOS support is available for some games)
- Graphics Card: A dedicated GPU from NVIDIA or AMD (integrated graphics may work but may not deliver the best experience)
- DirectX Version: DirectX 9, 10, 11, 12, or OpenGL (depending on the game)
If your system meets these specifications, you are ready to proceed with the installation process.
Backup Your Game Files
Before installing ReShade, it’s always a good idea to back up your game files, especially if you are using mods or other custom configurations. While ReShade is generally safe to use, any modification to the game files can lead to unintended consequences. Backing up your game will help you avoid any potential issues during the installation and make it easier to restore the original files if necessary.
Download ReShade
The next step is to download the ReShade installer from the official website. ReShade is free to use, and you can find the installer on the official ReShade homepage. It’s crucial to download ReShade from a trusted source to avoid any potential malware or other issues that could arise from third-party websites. Once downloaded, you will have the ReShade installer ready for use.
Installing ReShade for a Specific Game
Now that you have prepared your system and downloaded the necessary files, it’s time to install ReShade for a specific game. The installation process is relatively straightforward, but it’s important to follow the steps carefully to ensure that ReShade is properly installed and configured.
Run the ReShade Installer
The first step is to run the ReShade installer you downloaded. When you launch the installer, you will be prompted to select the game you want to install ReShade for. This is where you will need to browse your system for the specific game’s executable file (the .exe file that launches the game).
It’s essential to choose the correct executable file for the game you are installing ReShade for. For example, if you’re installing ReShade for a Steam game, you will typically find the executable in the Steam installation folder, usually located under C:\Program Files (x86)\Steam\steamapps\common\[Game Name]. Make sure to select the correct file to avoid confusion during the installation process.
Select the Rendering API
After selecting the game’s executable file, the ReShade installer will ask you to choose the rendering API that the game uses. ReShade supports several rendering APIs, including DirectX (versions 9, 10, 11, and 12) and OpenGL. Most modern games use DirectX 11 or 12, but some older games may use DirectX 9 or OpenGL. If you are unsure which API your game uses, you can check the game’s documentation or the installation folder for clues.
Once you have selected the correct rendering API, the installer will proceed with the next steps.
Install Shaders
After selecting the rendering API, ReShade will ask you which shaders you want to install. ReShade comes with a variety of built-in shaders, each offering a unique visual effect. These shaders range from color correction and sharpening to advanced effects like ambient occlusion and depth of field.
By default, ReShade will install a set of commonly used shaders, but you can customize this selection based on your preferences. If you are unsure which shaders to choose, you can stick with the default options for now and experiment later. You can always add or remove shaders at any time after the installation.
Once you have selected your shaders, click “OK” to proceed with the installation. ReShade will copy the necessary files into the game’s directory, completing the installation process.
Launch the Game and Configure ReShade
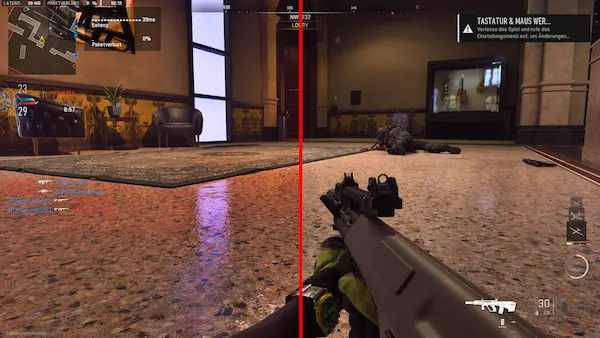
With ReShade installed, it’s time to launch the game and configure the tool to your liking. The first time you launch the game after installing ReShade, a ReShade overlay will appear on the screen, indicating that the tool is active.
ReShade typically loads with a default preset, but you can modify the settings to suit your preferences. To open the ReShade menu, press the designated hotkey (usually “Home” on your keyboard). This will bring up the ReShade interface, where you can adjust settings, choose different presets, and experiment with various visual effects.
The ReShade menu will display a list of available shaders and presets, allowing you to enable or disable specific effects. You can also fine-tune the settings for each shader to achieve the desired visual effect. For example, you can adjust the brightness, contrast, saturation, and other parameters to create the perfect look for your game.
Save and Apply Your Settings
Once you have configured ReShade to your liking, don’t forget to save your settings. ReShade allows you to create custom presets, which you can easily switch between depending on your mood or the type of game you are playing. To save a preset, simply click on the “Save” button in the ReShade menu and choose a name for your preset file.
It’s important to note that ReShade is fully customizable, and you can download additional shaders or presets from various online communities. If you find a preset you like, you can install it by copying the preset file into the game’s ReShade folder.
Enjoy the Enhanced Visuals
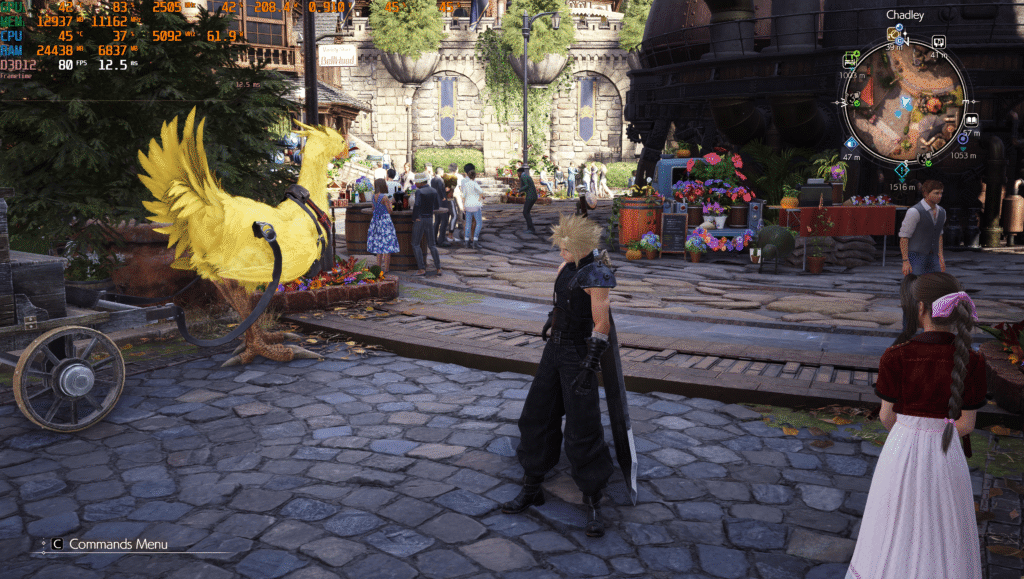
With ReShade successfully installed and configured, you can now enjoy your game with enhanced visuals. The improvements you see will depend on the shaders and settings you selected, but the difference in graphical quality can be significant. Whether you are playing an action-packed shooter, a relaxing RPG, or a fast-paced racing game, ReShade can take your visual experience to the next level.
Troubleshooting ReShade Installation
While the ReShade installation process is generally smooth, there are a few common issues that players may encounter. Here are some troubleshooting tips if you run into any problems:
- Game Crashes After Installing ReShade: If your game crashes upon launching, try running it in compatibility mode or reinstalling the game’s graphics drivers. In some cases, disabling certain shaders or changing the rendering API can resolve the issue.
- ReShade Overlay Not Appearing: If you don’t see the ReShade overlay, make sure the correct game executable was selected during installation. Additionally, check if ReShade is enabled in the game’s settings.
- Performance Issues: ReShade can have a performance impact on your game, especially if you enable complex shaders or run the game at high resolutions. If you experience performance drops, try disabling certain shaders or lowering the game’s graphical settings.
- Shaders Not Working: If specific shaders aren’t working, ensure that they are properly installed and selected in the ReShade menu. You may also need to download and install additional shader packs if they are missing from the default installation.
Conclusion
Installing ReShade for a specific game is a relatively simple process that can significantly enhance your gaming experience. By following the steps outlined above, you can easily add custom shaders and visual effects to your favorite games, making them look more vibrant, detailed, and immersive. Whether you’re a beginner or an experienced modder, ReShade offers a wealth of customization options that can take your graphics to new heights. So, grab the installer, choose your shaders, and start enjoying your enhanced gaming experience today!