ReShade is a popular graphics enhancement tool that allows players to tweak the visual settings of their games to achieve a more aesthetically pleasing or optimized experience. Whether you’re looking to enhance the visuals of your favorite game or restore it to its original form, knowing how to uninstall ReShade is an important skill for gamers and modders alike. This guide provides a comprehensive breakdown of how to remove ReShade from your games, ensuring that your game runs exactly the way it did before the modifications.
Understanding ReShade and Its Impact on Your Game
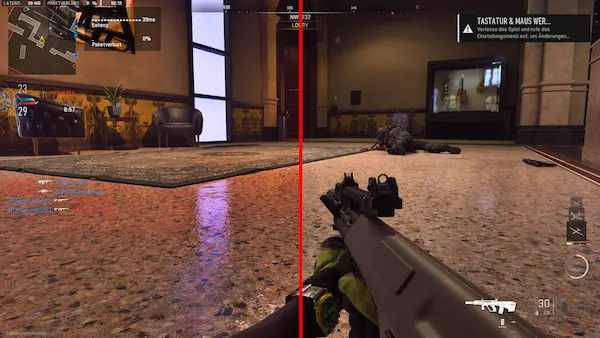
Before diving into the uninstallation process, it’s important to first understand what ReShade does and how it interacts with your game. ReShade is a post-processing injector, meaning it manipulates the graphics after the game has rendered them but before they appear on your screen. This allows users to add effects such as depth of field, ambient occlusion, color correction, and various other visual enhancements.
When you install ReShade, it typically adds a set of files to your game’s directory, along with configuration files that store your specific settings. These settings are saved even if you decide to uninstall the ReShade software, meaning that removing ReShade requires a bit more than simply deleting a few files.
The Need to Uninstall ReShade
While ReShade offers a powerful toolset to improve the visual quality of games, there are several reasons why players may choose to uninstall it. Some of the most common reasons include performance issues, a desire to return to the original game visuals, or encountering compatibility problems with other mods or software. Whatever the reason, uninstalling ReShade properly ensures that your game returns to its default state and runs optimally.
The Uninstallation Process: A Step-by-Step Guide
Uninstalling ReShade can vary slightly depending on the game and the version of ReShade you are using. However, the general steps remain largely the same across most games. Below is a detailed process to help you remove ReShade from your game.
Locate Your Game’s Directory
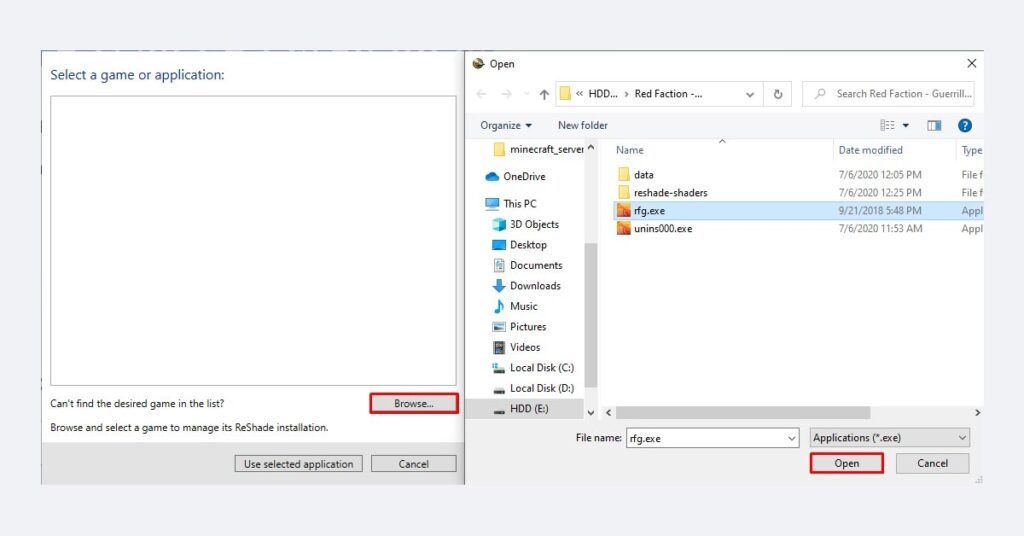
The first step in uninstalling ReShade is to locate the game directory where ReShade was installed. This is typically where the game’s executable file (.exe) is located. Depending on the game, this directory might be inside your Steam or Epic Games library, or in a custom folder on your hard drive. The directory will contain the game’s primary files, including ReShade’s installation.
In most cases, the ReShade installer adds its files to the same location as the game executable. If you’re unsure where your game is located, you can easily find this information by right-clicking on the game in your game launcher (e.g., Steam, Epic Games) and selecting the “Properties” option. From there, you can navigate to the “Local Files” tab and click “Browse Local Files” to open the game directory.
Remove ReShade Files from the Game Folder
Once you’re in the game’s directory, look for the files that were added by ReShade. The most common ReShade files include:
- ReShade.ini (the configuration file that contains your settings)
- dxgi.dll or d3d11.dll (the core files that enable ReShade to inject into the game)
- ReShade64.dll (in 64-bit games, this is the primary injector)
- reshade-shaders folder (which contains the shaders and effects files)
These files should be easy to identify, as they are specific to ReShade. You can safely delete all of these files and folders. It’s important to ensure that you remove both the main files and the associated shader folders to completely uninstall ReShade. If you miss any of these components, traces of ReShade may remain in your game, leading to potential issues when you launch it without the software.
Clean Up Configuration Files
In addition to the primary ReShade files, some games might also store configuration settings that persist even after the main files are deleted. These settings files might be located in your “Documents” folder, within the game’s specific subfolder, or in your user profile directory.
Check for any additional files related to ReShade, such as ReShadePreset.ini or other configuration files, and delete them. This will help ensure that there are no lingering settings that could interfere with the game when you try to launch it again.
Restore Default Graphics Settings
If you have modified the graphics settings in the game using ReShade, you may want to restore the original settings to their default state. ReShade has a tendency to adjust various parameters, such as brightness, contrast, and saturation, to fit the user’s preferences. Once you’ve uninstalled ReShade, it’s a good idea to manually adjust the in-game settings to match the game’s original visuals.
Most games will automatically reset graphics settings to default when they detect that ReShade is no longer present. However, some games may require you to manually adjust the settings. Go into the graphics or video settings menu within the game and ensure that all visual effects are set to their default values.
Revert Any Other Modifications
If you have applied other mods or third-party enhancements to your game alongside ReShade, it’s essential to check whether they have been affected by the uninstallation process. In some cases, ReShade might conflict with other mods, and removing it may cause certain mods to behave unexpectedly.
Review any additional modifications you have installed and ensure they are still functioning as intended. If necessary, you can reinstall those mods or make adjustments to ensure they work well without ReShade.
Testing the Game After Uninstallation
After completing the uninstallation steps, it’s time to test your game. Launch the game to confirm that ReShade has been completely removed and that the game is functioning as expected. If everything looks good, you’re done. However, if you notice that the game still appears altered in some way, or if you encounter performance issues, there are a few additional steps you can take.
Verify the Integrity of Game Files
If the game still behaves oddly after uninstalling ReShade, it may be a good idea to verify the integrity of the game files. Both Steam and Epic Games have built-in tools for this purpose. Verifying the game files ensures that no other modifications or corrupted files are causing issues.
In Steam, you can do this by right-clicking on the game in your library, selecting “Properties,” going to the “Local Files” tab, and then clicking “Verify Integrity of Game Files.” Epic Games has a similar feature in the “Manage” section of the game properties. This will ensure that all files are correctly restored to their original state.
Check for Residual Files
If problems persist, you can use third-party software to scan for residual files that may have been left behind by ReShade. Programs like CCleaner can help you locate and remove any remaining configuration files, temporary files, or registry entries that might be affecting the game’s performance.
Reinstalling ReShade
If you find that you miss the visual enhancements that ReShade provided, you can always reinstall it. However, make sure to carefully follow the installation instructions and only add the specific effects you want to keep. This will allow you to enjoy the benefits of ReShade without running into potential problems in the future.
Conclusion
Uninstalling ReShade from a game is a relatively straightforward process, but it’s important to ensure that you remove all associated files and settings for a clean uninstallation. Whether you’re troubleshooting performance issues, returning the game to its original form, or simply trying out a different look, following these steps will help you fully remove ReShade from your game. After uninstalling, be sure to test your game and restore any default settings to ensure the best possible gaming experience.