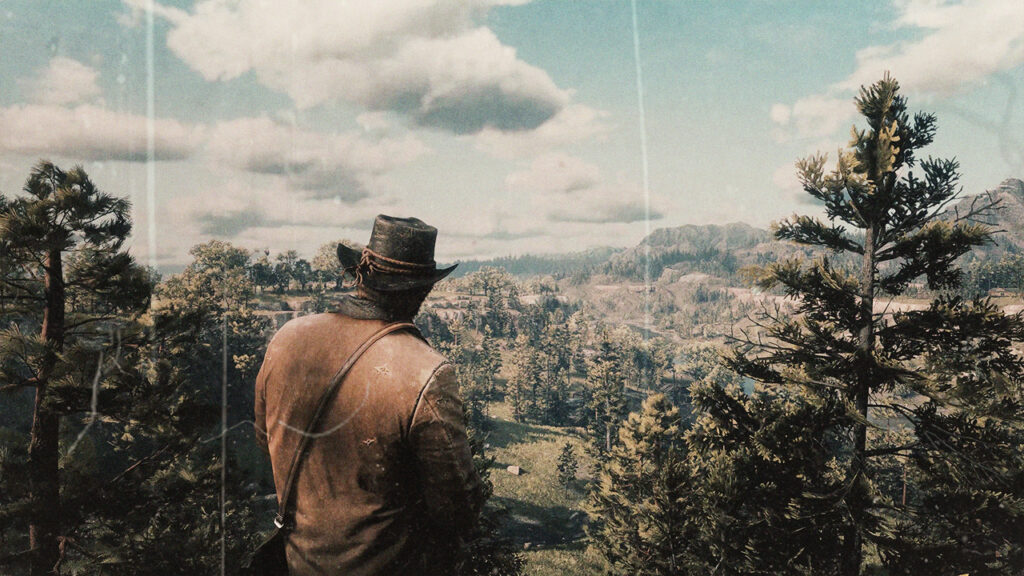
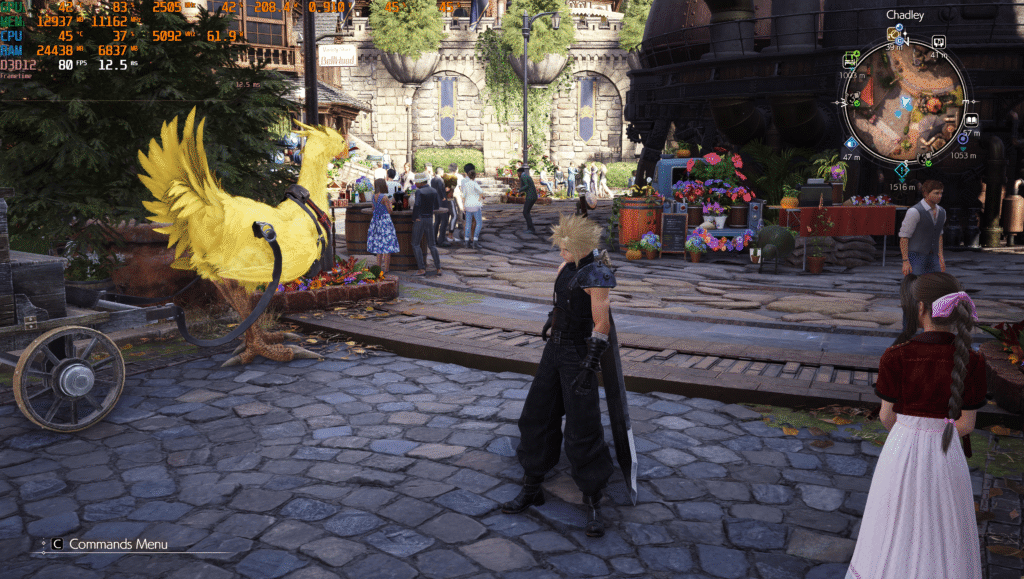
ReShade has emerged as one of the most powerful post-processing tools in the gaming community, giving players and content creators the ability to transform the visual fidelity of their games. It allows users to inject custom shaders directly into games, enabling cinematic color grading, sharpening, ambient occlusion, depth of field, and a wide array of other visual effects. While ReShade comes with a broad collection of built-in shaders, its true potential lies in the ability to use custom shaders—those either created by the community or developed by the user. This article explores everything you need to know about using custom shaders with ReShade, from setup to advanced configuration, helping you unlock the full graphical capabilities of your games.
Understanding ReShade and Its Architecture
ReShade operates as a post-processing injector that interfaces between a game and its graphics APIs, such as DirectX or OpenGL. By intercepting these calls, ReShade can apply additional visual effects to the final rendered image, all in real-time. The system is modular by design, with a core application that loads and compiles shader programs written in ReShade FX (a proprietary shader language similar to HLSL). These shaders are then executed in sequence based on user configuration.
This architecture is crucial when working with custom shaders. Because ReShade is not bound to its default shader suite, it offers users the flexibility to add any compatible shader file to their pipeline. Whether you are looking to mimic Hollywood-style cinematography, enhance realism, or stylize visuals with unique effects, custom shaders serve as the gateway to a tailored gaming experience.
Preparing Your System for ReShade Custom Shader Integration
Before diving into shader customization, it is essential to ensure that your ReShade installation is configured properly. Start by downloading the latest version of ReShade from the official website. During installation, select the executable file of the game you wish to modify and choose the appropriate graphics API. ReShade will then prompt you to install a collection of standard effect shaders. While these are optional, they are useful for comparative purposes as you explore custom shaders later.
After installation, ReShade will generate several files in your game’s directory, including ReShade.ini, dxgi.dll or d3d11.dll (depending on the API), and the Shaders and Textures folders. These directories serve as the base environment for all shader operations. Familiarity with these file structures is important since custom shaders must be properly placed within them to function correctly.
Locating and Downloading Custom Shaders
Custom shaders for ReShade can be sourced from a variety of community-driven platforms. Popular repositories include GitHub, Nexus Mods, and forums like ReShade’s own discussion board. Many talented shader developers release their work as open-source projects, allowing users to freely download and experiment.
When selecting custom shaders, always ensure that they are compatible with the version of ReShade you are using. Since ReShade evolves regularly, older shader code may require modification to work with newer APIs or updated syntax. Some developers offer presets bundled with shaders, which can help you visualize the intended effect before applying your own configuration.
It is also a good idea to read any accompanying documentation, as some custom shaders depend on depth buffer access or specific rendering conditions. In cases where a shader requires additional textures or auxiliary files, those assets should be placed in the appropriate folders under the ReShade directory.
Adding Custom Shaders to ReShade
To integrate a custom shader into ReShade, begin by copying the .fx shader file into the Shaders folder created during installation. If the shader uses any textures, LUTs, or additional assets, place them into the Textures folder. It is important to maintain proper directory structure, as ReShade uses internal paths defined in its .ini files to locate and load resources.
Once the shader files are placed correctly, launch the game. Press the default hotkey (usually Home) to open the ReShade overlay. Navigate to the settings tab and verify that the shader and texture search paths are set correctly. If not, add the directories manually. This ensures ReShade can detect and compile the new shader upon initialization.
Returning to the main overlay tab, click the reload button to refresh the shader list. If everything has been configured properly, your new shader will appear in the list of available effects. Activating it will apply the shader in real-time, allowing you to immediately see the changes it makes to the game’s visuals.
Configuring Shader Parameters for Optimal Visuals
Once your custom shader is active, the next step involves fine-tuning its parameters to suit your visual preferences. Most shaders are designed with a range of configurable settings exposed through sliders, checkboxes, or numerical fields in the ReShade interface. These might include brightness levels, contrast ratios, blur radii, sampling quality, or color intensity.
Shader configuration is where artistry meets technology. Subtle adjustments can make a dramatic impact, and the key is to balance visual enhancement with performance. For instance, cinematic depth of field shaders may look impressive but can impose a heavy frame-rate penalty if not optimized. Likewise, ambient occlusion or ray-traced lighting effects should be balanced to avoid over-saturation or unrealistic shadows.
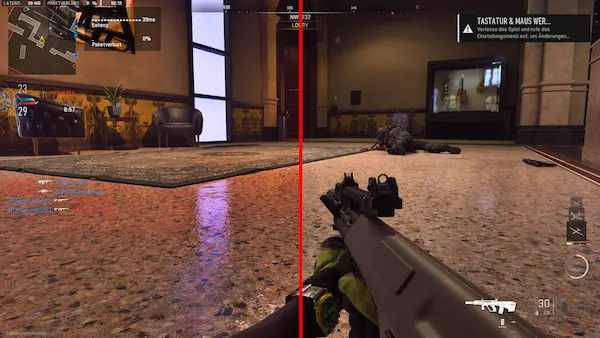
Experimentation is essential. Use side-by-side comparisons or toggle effects on and off to determine which combination yields the best result. If you find a setup that works particularly well, save it as a ReShade preset. Presets are saved as .ini files and can be shared with others or reloaded across different gaming sessions.
Troubleshooting Common Shader Issues
Despite ReShade’s robust architecture, users may encounter issues when working with custom shaders. One common problem is shader compilation errors. These usually occur if the shader uses deprecated syntax, undefined variables, or external dependencies that are missing. The ReShade overlay will display a red error message detailing the line and file where the compilation failed. In such cases, editing the shader file with a text editor and correcting the syntax can often resolve the problem.
Another frequent issue relates to depth buffer access. Many advanced shaders rely on this feature to simulate lighting, shadows, and depth-of-field. However, some games use rendering techniques that obscure or encrypt depth information, making it inaccessible to ReShade. While ReShade has tools to detect and unlock the depth buffer in certain cases, success is not guaranteed. Users can attempt to adjust the depth buffer detection settings in the overlay or use ReShade’s depth debug mode to verify if the feature is functional.
Compatibility is also a key concern. Not all custom shaders are universally applicable. Some are tailored for specific games or genres and may produce undesirable effects when used elsewhere. Always back up your configuration files before introducing a new shader and be prepared to remove or disable any that degrade performance or cause visual glitches.
Creating Your Own Custom Shaders
For those with programming experience or a strong creative drive, building custom shaders from scratch is an exciting endeavor. ReShade uses its own shader language, ReShade FX, which is closely related to HLSL. This allows users to define their own rendering passes, manipulate pixel and vertex data, and create unique effects.
Creating a shader involves defining the effect parameters, writing the rendering logic in the main function, and optionally using uniforms or textures for dynamic input. ReShade includes a compiler and a debug mode that assists in development. You can test your shader in real time, adjusting parameters on the fly and viewing the results immediately.
Developers often start by modifying existing shaders to understand how different commands and structures behave. The ReShade documentation and community forums offer extensive guidance, including tutorials, sample shaders, and tips for writing efficient code. Once your shader is complete, packaging it with clear documentation and sharing it with the ReShade community can lead to valuable feedback and recognition.
Using Custom Shader Presets for Thematic Visuals
One of the most practical applications of custom shaders is in creating thematic presets tailored to specific moods or genres. For example, a noir-inspired preset might use high-contrast black-and-white shaders with subtle film grain and vignette effects. A fantasy-themed preset could incorporate vibrant color grading, bloom, and soft depth-of-field to emulate a dreamlike aesthetic.
Using presets allows gamers to switch between different visual themes effortlessly. This is particularly useful for streamers or video editors who want consistent branding across their content. Some users go as far as creating entire cinematic workflows within ReShade, using custom shaders to mimic the look of famous movies, TV shows, or vintage film formats.
These presets can be bundled with the necessary shader files and distributed through forums or repositories. As they gain popularity, they contribute to the growing culture of ReShade modding, encouraging more users to explore creative possibilities beyond the default visuals offered by game developers.
Maintaining Shader Performance and Optimization
While the visual benefits of custom shaders can be immense, it is important not to overlook performance considerations. Complex shaders can be demanding on your GPU, especially when used in combination or at high resolutions. Monitoring your frame rate while adjusting shader parameters is essential to maintaining a smooth gaming experience.
ReShade includes tools such as frame rate counters and performance profiling to help users identify bottlenecks. Disabling expensive effects during gameplay and only enabling them during cutscenes or photo mode is one way to strike a balance. Additionally, consider using LOD (Level of Detail) optimizations or toggling features dynamically through hotkeys.
Optimizing shader order can also make a difference. ReShade executes shaders in the order they appear in the configuration file. Placing heavier shaders at the end of the chain or reducing their rendering resolution can minimize impact. Where possible, use lightweight alternatives to achieve similar visual results without overloading the system.
Conclusion
ReShade continues to evolve rapidly, thanks to a dedicated community and an active development team. With support for Vulkan and other modern APIs, the scope of ReShade’s compatibility is expanding. New shader techniques, including real-time ray tracing, screen-space reflections, and advanced lighting models, are becoming increasingly accessible to hobbyists.


